今回はA4をツーリングカーにするべく納車後すぐにやったことを書いていきます。
This time, I will write about what I did immediately after taking delivery of the A4 to turn it into a touring car.
まずは窓。
First, the window.
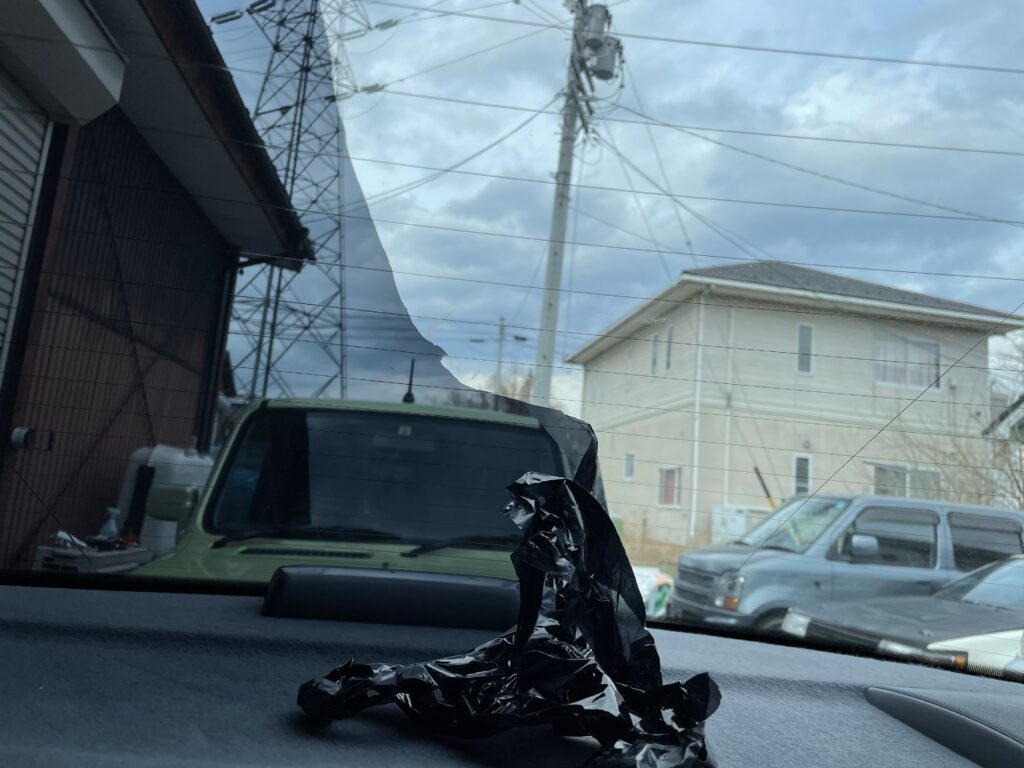
剥がし方は簡単、温めながら引っ張るだけ。
Easy to remove, just pull while warming.
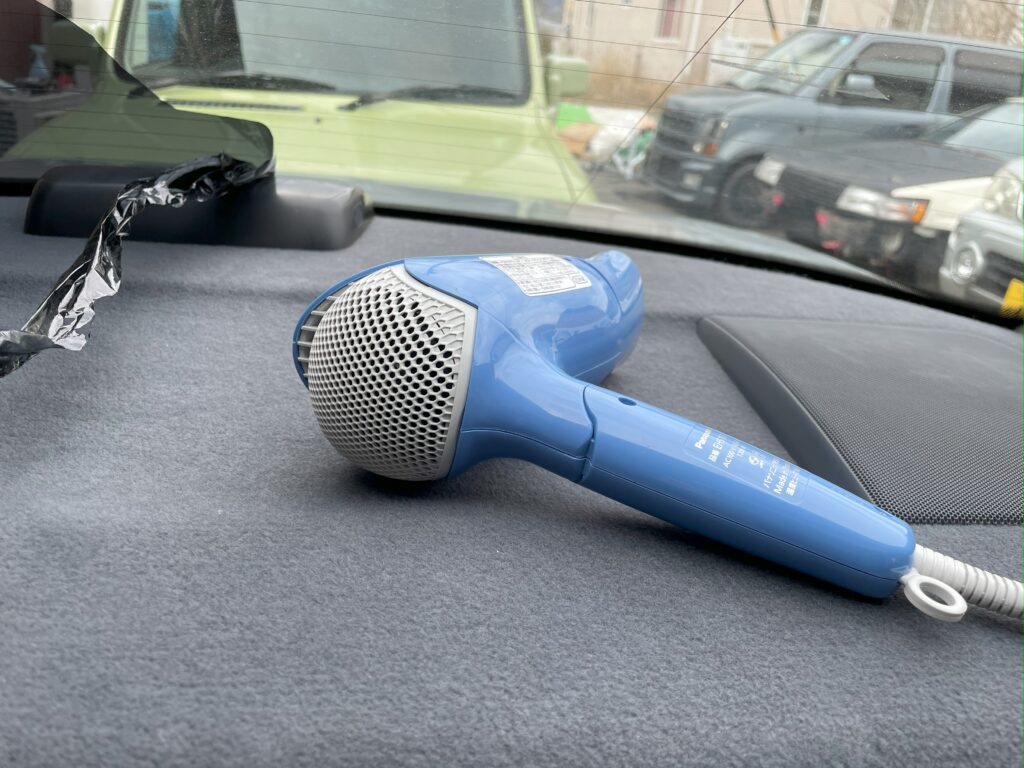
ドライヤーで温めながら剥がしていきます。
Heat it with a hair dryer and peel it off.
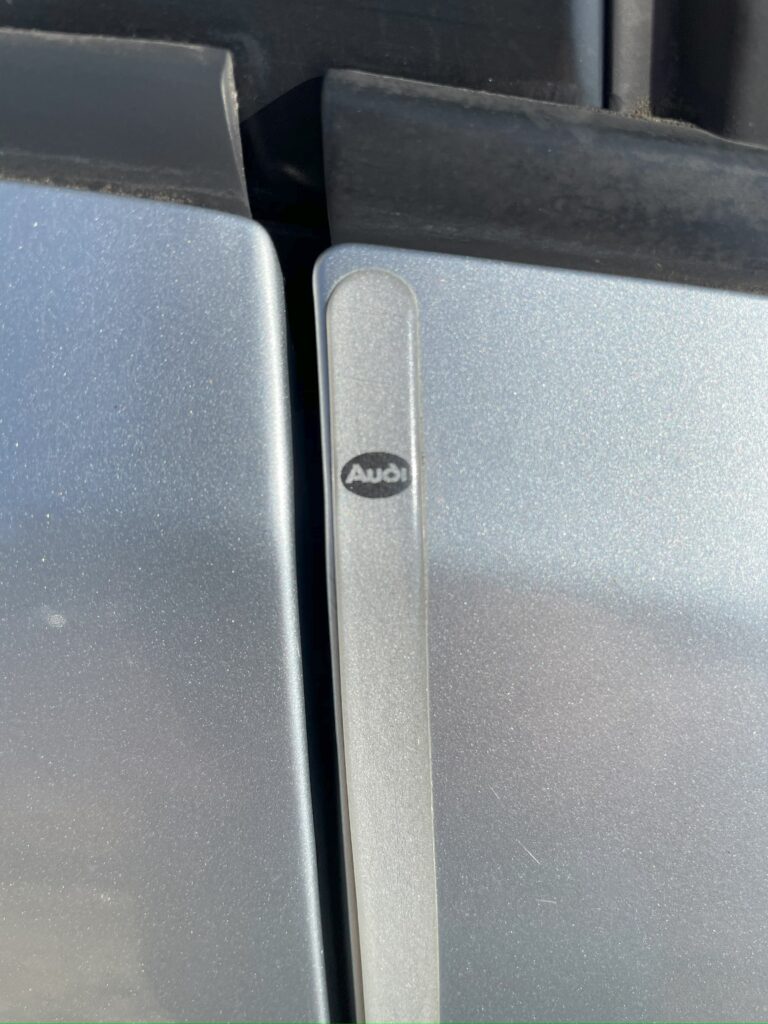
次はドアモールを剥がします。
Next, remove the door molding.
これも不要です。
This is also unnecessary.
が、そのまま勢いよく剥がしたら塗装が剥がれました・・・
However, when I tried to peel it off vigorously, the paint came off…
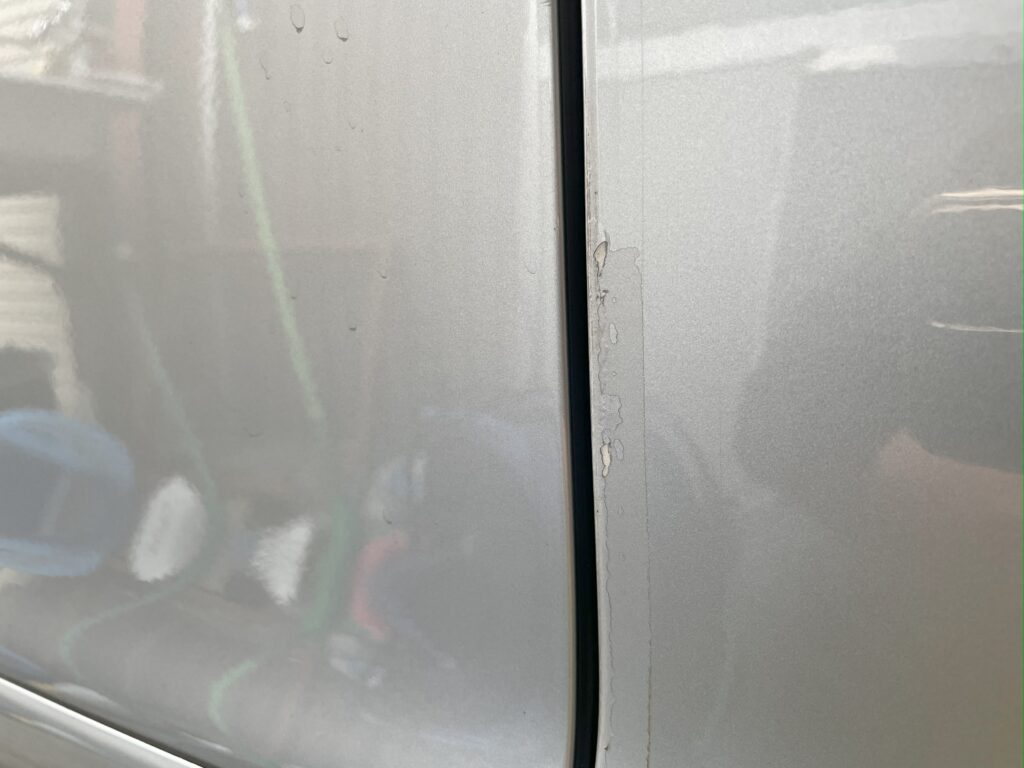
古い車ですのでここは注意が必要ですね・・・
It’s an old car so you need to be careful here…
皆さん気を付けてください。
Everyone please be careful.
それからはヒートガンを使って慎重に剥がしました。
Then I used a heat gun to carefully peel it off.
次はドアバイザーを撤去します。
Next, remove the door visor.
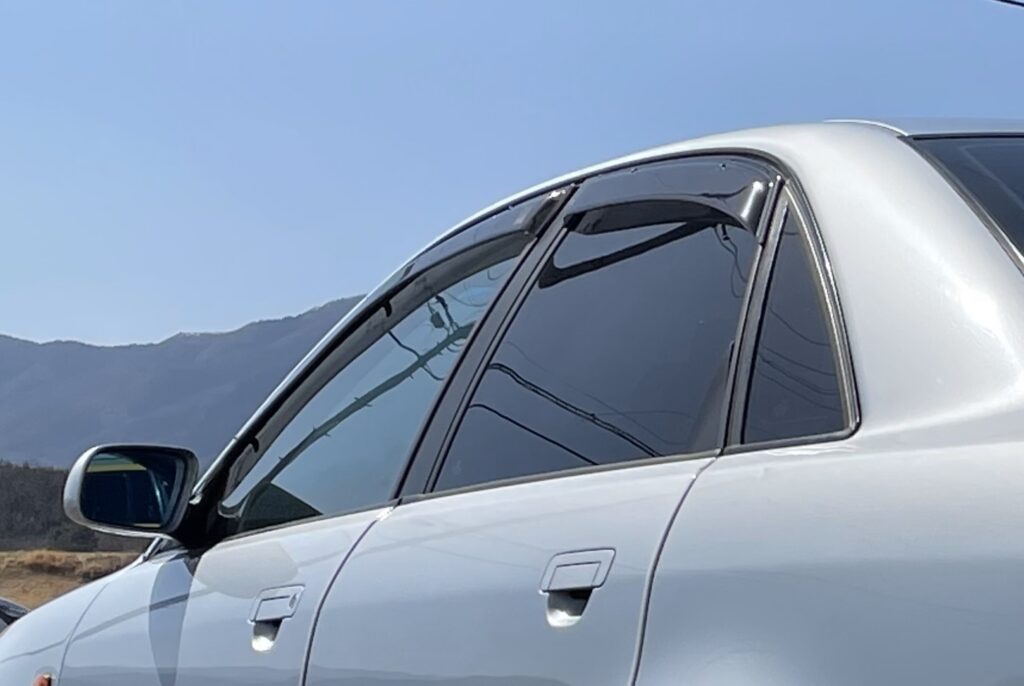
これもレーシングカーには不要です。
This is also unnecessary for racing cars.
レーシングカーはスパルタンでなければいけません。
A racing car has to be a Spartan.
外せるものはどんどん外していきます。
I will continue to remove as many things as I can.
テープで付いてるだけなので引っ張れば取れますが・・・
It’s just attached with tape, so you can remove it by pulling it…
力みすぎて壊してしまいましたね・・・
I used too much force and broke it…
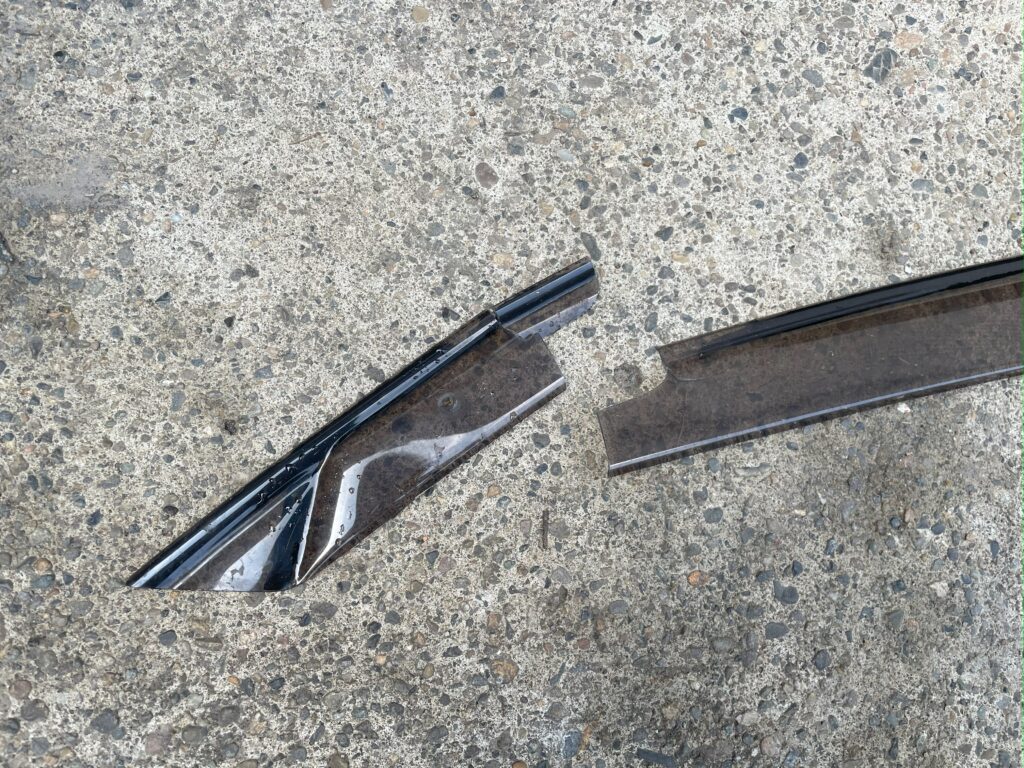
まぁもう使うことはないと思うので問題ありません。
I don’t think I’ll ever use it again, so it’s not a problem.
思い切りが大切です
It is important to take the plunge.
。
再利用される方はこれもヒートガン等で温めながら外すのがいいと思います。
If you plan on reusing it, I think it’s a good idea to warm it up with a heat gun, etc., before removing it.
ざっとこんな感じですね。
It’s roughly like this.
とにかくレーシングカーを作るということは余計なものを外す必要があります。
In any case, building a racing car requires removing unnecessary things.
大胆かつ繊細に。
Be bold and delicate.
その結果こうなります。
The result is this.
上・・・アフター
下・・・ビフォー
Top…After
Below…Before
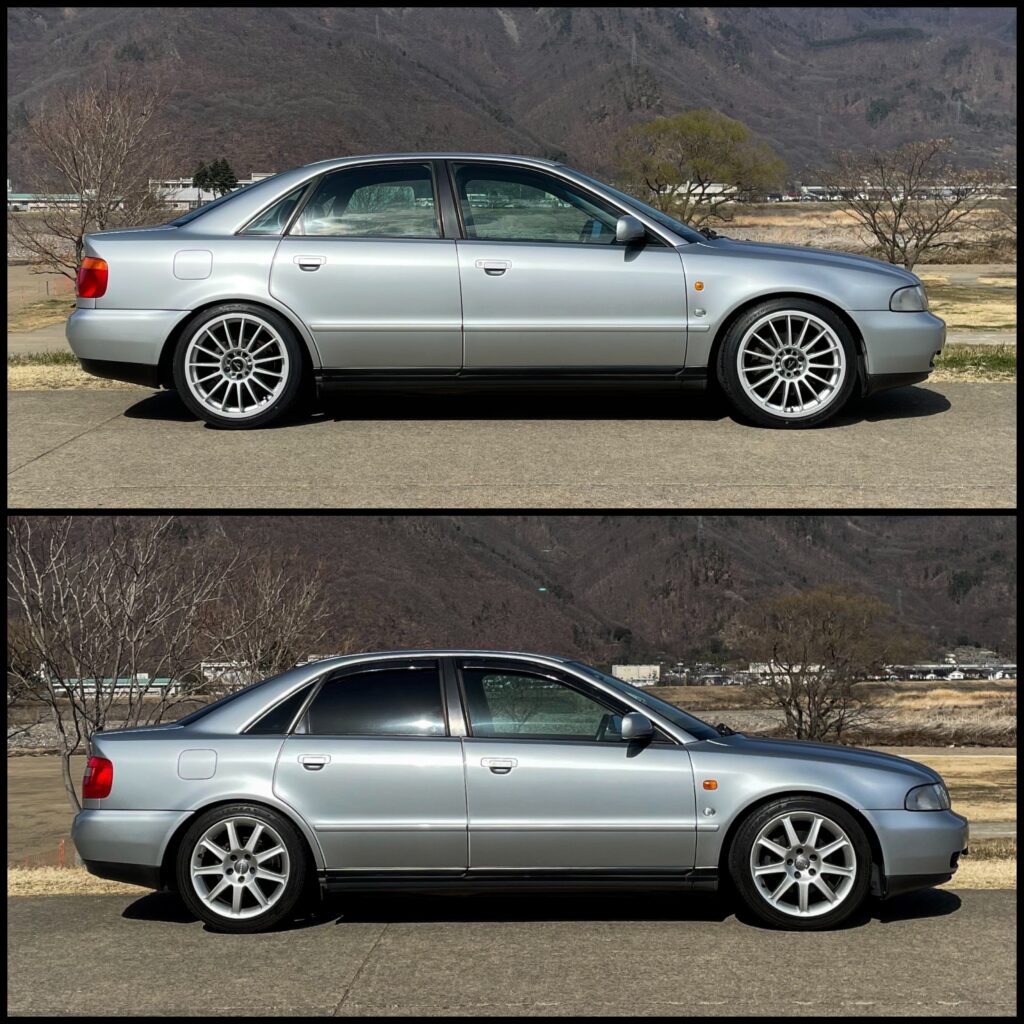
すっきりしましたね。
It feels refreshing.
ん?
What?
ホイールが変わってる?
Has the wheel changed?
それは次に書きますのでお楽しみに。
I’ll write about that next, so please look forward to it.
コメント